To use a press brake safely and accurately, you need the right tooling, a structured before-during-after workflow, and consistent daily checks. This guide applies to modern NC and CNC press brakes and walks you through tooling selection, setup, operation, safety, maintenance, and basic troubleshooting. It is written for new and intermediate operators who want practical, step-by-step instructions rather than abstract theory. Follow these sections in order the first time, then use them as a quick reference in your daily work.
Know Your Press Brake and Tooling
Core Components You Must Understand
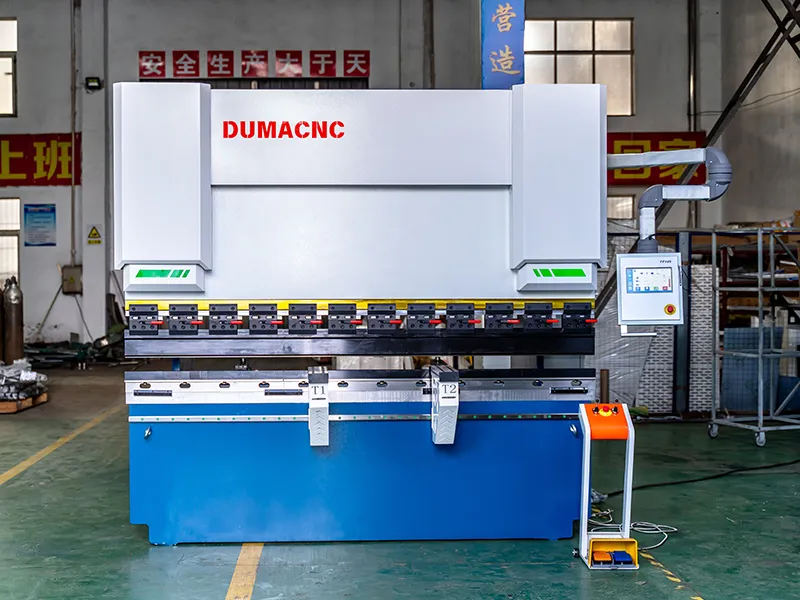
Before operating, clearly recognize each major component and its role in bending.
- Frame and bed: support the lower die and workpiece.
- Ram (or beam): moves the upper tool (punch) up and down.
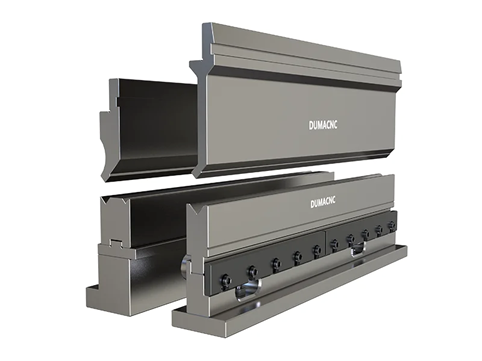
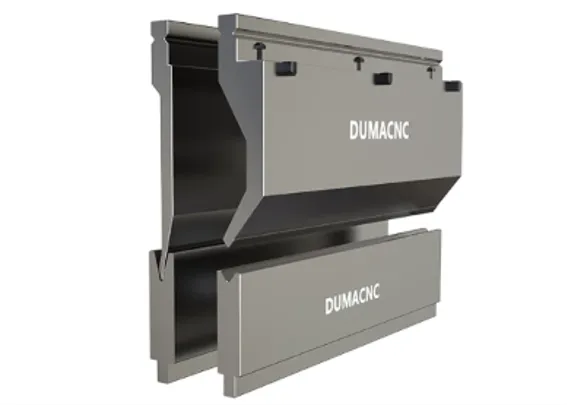
- Punch: top tool that forms the bend by pressing into the material.
- Die: bottom tool, often a V-die, that supports and shapes the bend.
- Backgauge: positions the sheet to control flange length.
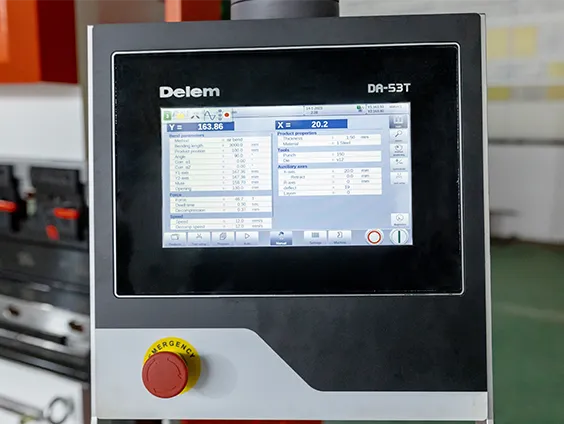
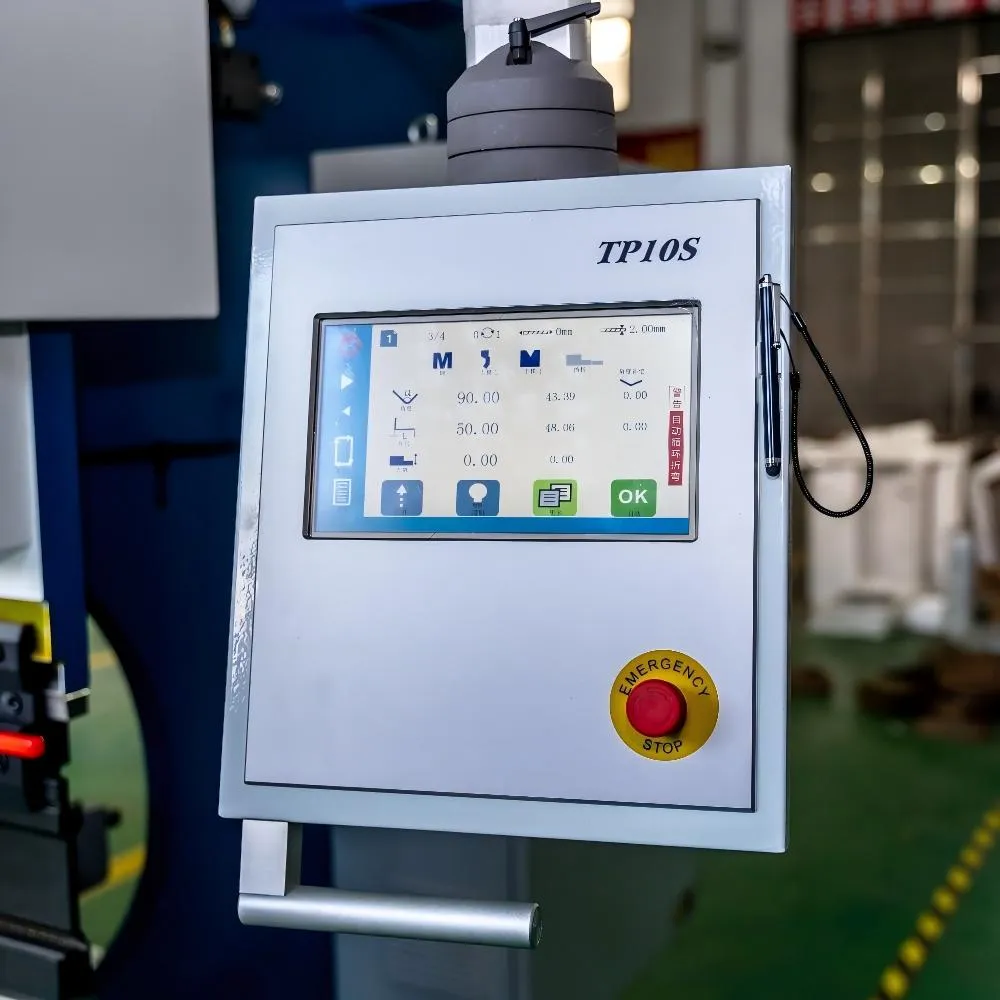
- Control system (NC or CNC): sets positions, depth, and operating modes.
- Foot pedal or buttons and safety devices: allow controlled and safe motion.
Knowing these parts helps you understand every following step.
Basic Bending Principle in Plain Language
A press brake bends material by forcing it past its elastic limit between a punch and a die.
Key ideas:
- Tonnage: required force depends on material type, thickness, bend length, and die opening.
- Inside radius: in air bending, it is primarily influenced by die opening and material properties.
- Springback: metal slightly opens after unloading, so you may need a small over-bend.
- Bending method: most modern press brakes use air bending rather than bottoming or coining.
For new operators, begin with simple 90° bends on mild steel to build predictable process control.
How to Choose Press Brake Tooling

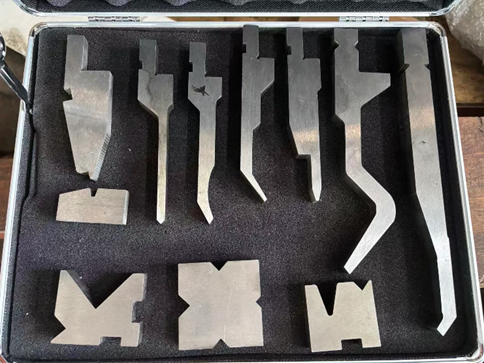
The right punch and die combination is essential for angle accuracy, surface quality, and tool life.
- Match press brake tooling to material thickness, strength, and required angle.
- For air bending mild steel, a common starting rule is V-die opening ≈ 8× sheet thickness (adjust as needed for other materials).
- Choose a punch tip radius appropriate for the material to prevent cracking and surface damage.
- Use gooseneck or special punches when bending deep channels or return flanges.
- Avoid mixing heavily worn tools with new ones in the same setup, as this can cause angle inconsistency along the bend length.
Always inspect press brake punches and dies for chips, cracks, or heavy wear before installation.
Before Operation: Pre-Use Safety and Setup
Safety Preparation and PPE
Every press brake job starts with personal protection and basic safety checks.
- Wear safety glasses, safety shoes, and snug-fitting clothing.
- Remove rings and watches, and secure long hair to prevent entanglement.
- Confirm guards, light curtains, and emergency-stop buttons function correctly.
- Keep the floor clean and dry, with scrap and parts cleared from the work area.
New operators should work under supervision until fully familiar with the machine.
Machine Startup and Initial Checks
Use a clear and repeatable startup routine to protect both the press brake operator and the machine.
- Turn on the main power and bring the control and drive systems online as required.
- On hydraulic machines, allow the system to cycle at idle for a few strokes so oil and components warm up.
- Listen for unusual noise and watch for vibration or visible leaks.
- Home or reference the axes if your machine requires it (typically CNC machines; many NC machines use fixed reference positions).
If you notice alarms, leaks, or abnormal sounds, stop and investigate before continuing.
Mounting and Aligning Tooling
Correctly mounted press brake tooling reduces scrap and prevents damage.
- Clean clamping surfaces on the ram and bed to remove debris and burrs.
- Install the die in the bed and the punch in the ram using the proper clamping system.
- Check that the punch and die are aligned along the full working length.
- Tighten all clamps or fasteners securely before any powered motion.
Run a slow test stroke without material to confirm clearance and alignment.
Programming, Setup, and Trial Bends
Define Job Requirements and Bend Sequence
Clarity about the part you are making is the starting point for a good press brake setup.
- Review the drawing for material, thickness, bend angles, flange lengths, and tolerances.
- Decide on a bend sequence that avoids collisions and minimizes regrips.
- Estimate required tonnage and confirm it is within the machine’s rated capacity.
- Note any critical dimensions that require closer monitoring.
On CNC machines, store successful programs for repeat jobs. On NC machines, record depth settings and backgauge positions manually for future reference.
Set Backgauge, Stroke, and Angle Control
Your core machine adjustments translate drawing requirements into actual bends.
- Set the backgauge according to the required flange length from the bend line.
- Adjust ram stroke or depth settings to prevent bottoming or tool collision.
- Use angle control features, dwell, or depth corrections to achieve the target angle.
- On CNC machines, enter material and tooling data to improve calculation accuracy.
- On NC machines, achieve angle accuracy by manually adjusting depth and performing trial bends.
Set up crowning or table compensation if your machine provides this function (manual on many NC machines, programmable on most CNC machines).
Make Trial Bends and Fine-Tune
Trial bends verify your setup in real material before starting production.
- Use scrap from the same material batch as the production parts.
- Perform initial bends at reduced speed to observe material behavior.
- Measure both bend angle and flange length with appropriate gauges.
- Adjust ram depth, backgauge position, or correction tables as needed.
Repeat until several test pieces show consistent, in-tolerance results.
How to Run a Press Brake Safely During Operation
Positioning and Supporting the Workpiece
Good part handling improves consistency and reduces risk.
- Place the sheet flat on the die or support arms, not hanging unsupported.
- Push the part gently against the backgauge fingers without excessive force.
- Keep your hands clear of pinch points and outside active tool zones during movement.
- For heavy or large sheets, use helpers or lifting devices to prevent dropping or strain injuries.
Double-check orientation before every bend in a multi-bend part.
Running Production Bends
Once setup is proven, follow a disciplined routine for every bend.
- Activate the bend using the specified foot pedal or control mode.
- Watch the bend line and support the free end to reduce sag and twist.
- Release the control immediately if anything seems abnormal.
- Wait until the ram is fully retracted before removing or repositioning the part.
Re-check angles and dimensions periodically, especially during long production runs.
Essential Safety Rules While Operating
Unsafe habits quickly lead to serious accidents on a press brake.
- Never place your hands between punch and die during any active movement.
- Do not bypass or disable any safety device.
- Keep tools, gauges, and scrap off the bed whenever possible.
- Stop the machine immediately if you notice abnormal heat, burning smells, or visible fluid leakage.
Make sure only one operator is in control at any time to prevent confusion.
After Press Brake Operation: Shutdown and Housekeeping
Proper Shutdown Steps
A clean shutdown process extends equipment life and keeps the area safe.
- Return the ram to the top position and move the backgauge to a safe location.
- Remove or change tooling only after all motion has fully stopped.
- Turn off the hydraulic or drive system, then the control, then the main power as required.
- Apply lockout and tagout if maintenance or repair is needed.
Follow your company’s specific procedures in addition to these general steps.
Cleaning and Quick Inspection
End-of-shift housekeeping is part of professional operation.
- Remove finished parts, offcuts, and scrap from the bed and surrounding area.
- Wipe up visible oil and report leaks to maintenance.
- Check tools for new chips, cracks, or signs of wear before storing them.
- Record alarms, unusual noises, or issues in a shift log.
Consistent daily care helps prevent unexpected downtime and quality problems.
Daily Press Brake Maintenance for Operators
Press brake operators are not maintenance technicians, but basic daily checks are essential.
- Hydraulics: confirm oil level and look for external leaks.
- Lubrication: verify that slides and guides receive lubrication as specified.
- Electrical: visually check cables, connectors, and sensors for damage.
- Backgauge and clamps: check for looseness or collision marks.
- General condition: monitor for unusual vibration or movement during operation.
Only qualified personnel should adjust hydraulic pressure or open hydraulic circuits.
Common Problems and Simple Troubleshooting Ideas
Operators should recognize typical symptoms early and perform basic checks before calling service.
- Inconsistent bend angles: confirm tooling condition, die selection, and ram depth settings.
- Bends in the wrong position: check backgauge settings, finger alignment, and part seating.
- Twisted or warped parts: improve material support and review the bend sequence.
- Abnormal noise or vibration: check for loose tools, fasteners, or lubrication issues.
- Insufficient force or slow movement: verify oil level and report persistent issues.
Stop production if a problem continues and involve maintenance or your machine supplier.
Work with DUMA for Reliable Press Brake Operation
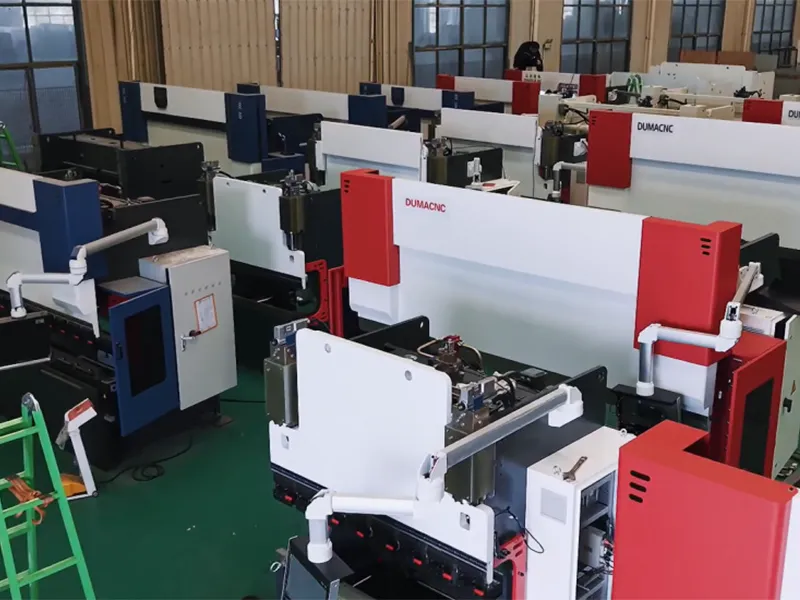
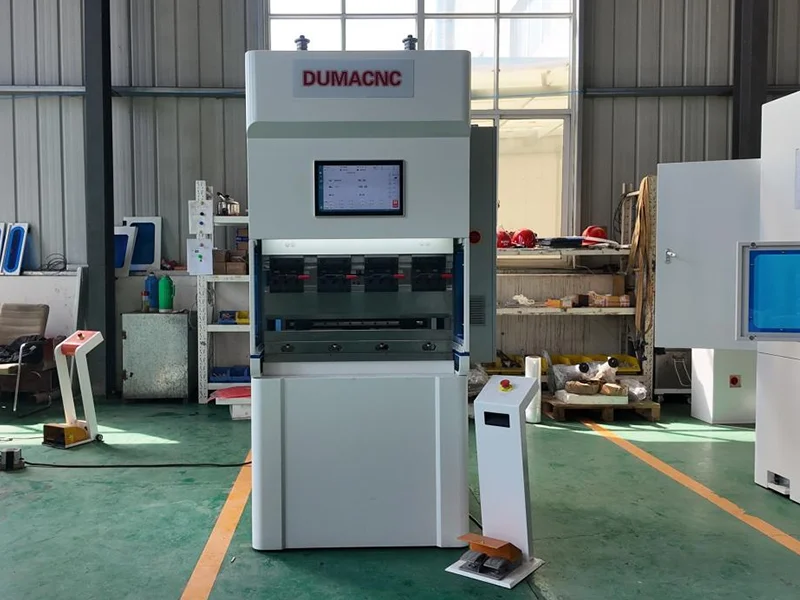
Modern metal fabrication demands press brakes that are accurate, stable, and operator-friendly. DUMA focuses on modern press brake solutions backed by practical application experience and engineering support, from tooling advice and bending trials to operator training and maintenance guidance.
If you want to improve bending quality, shorten setup time, or upgrade an older machine, contact DUMA. Our engineers can help you configure a press brake solution that fits your materials, thickness range, and long-term automation goals.